How to make a Portable Radio
Making a portable radio using a jerrycan is a creative and functional DIY project. Here's a step-by-step guide:
Materials Needed:
- A clean plastic jerrycan (5-10 liters recommended for portability).
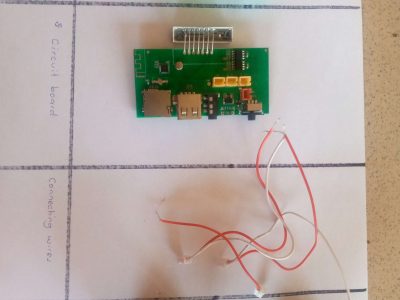
- A small FM radio module (or an old radio circuit).
- Speakers (small, battery-powered or low-wattage speakers).
- A rechargeable battery pack (e.g., 3.7V lithium battery).
- Switch (for power control).
- Wires (for connections).
- Antenna (from the radio module or a repurposed telescopic antenna).
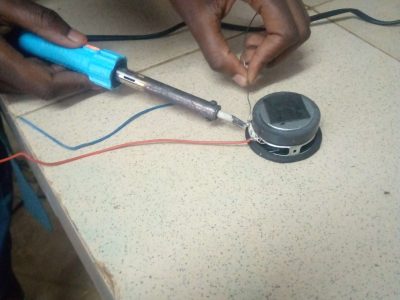
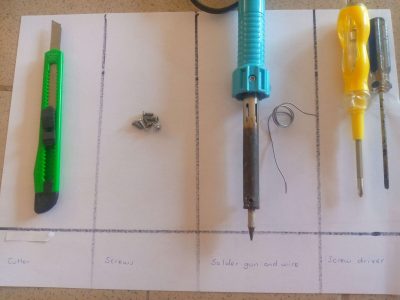
- Soldering kit.
- Drill (for creating holes).
- Screwdrivers.
- Glue or epoxy (for securing components).
Steps:
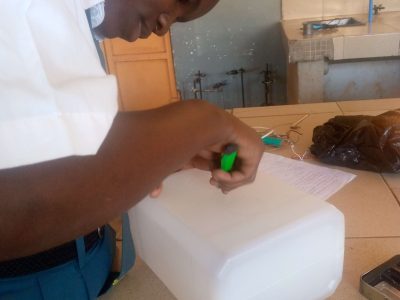
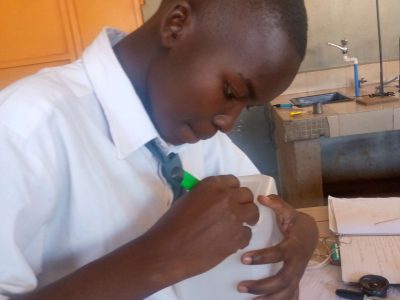
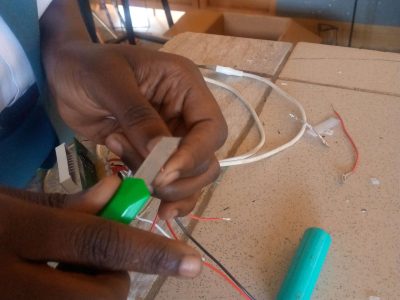
1. Prepare the Jerrycan
- Clean the jerrycan thoroughly and dry it.
- Drill holes for:
- Speaker grills (usually on one side of the jerrycan).
- Switch (on the top or side for easy access).
- Charging port (if your battery pack has one).
- Antenna hole (near the top for better signal reception).
2. Mount the Speakers
- Place the speakers in the drilled holes.
- Secure them using screws, glue, or brackets.
- Ensure the speaker cones are facing outward.
3. Install the Radio Module
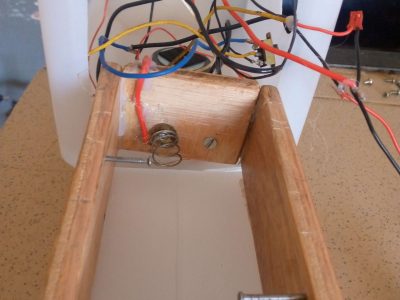
- Fix the radio module inside the jerrycan, using glue or a mounting bracket.
- Align the control knobs or buttons with the outside for easy operation.
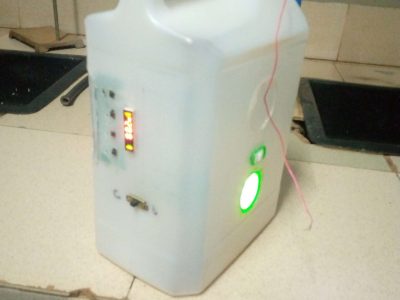
- If the module has a digital display, cut a hole in the jerrycan for visibility.
4. Connect the Antenna
- Attach the antenna to the radio module and thread it through the antenna hole.
- Secure it with glue or a mounting bracket.
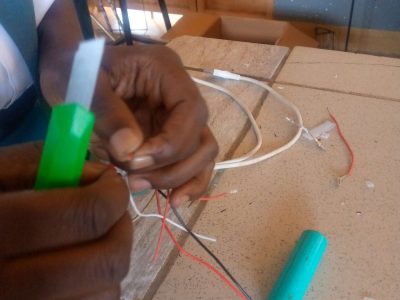
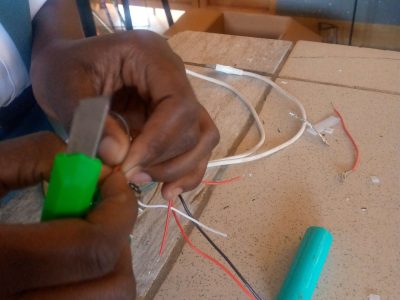
5. Wire the System
- Connect the speakers to the output terminals of the radio module.
- Wire the battery pack to power the radio module and speakers.
- Attach the switch between the battery and the radio module for power control.
6. Test the Connections
- Before sealing the jerrycan, test the radio:
- Turn on the switch.
- Adjust the volume and tune the radio to check the signal and speaker output.
- Fix any wiring or component issues.
7. Seal and Finish
- Once all components are working, seal the jerrycan with its cap.
- Use glue or epoxy to secure any external components (e.g., switch or antenna).
- Decorate the jerrycan if desired, using paint or stickers.
8. Portable Usage
- The handle of the jerrycan makes it easy to carry.
- Charge the battery pack as needed, or replace batteries if it uses non-rechargeable ones.
Tips:
- Ensure proper ventilation around the speaker holes for better sound quality.
- Use lightweight components to maintain portability.
- Opt for a solar-powered charging system for extended outdoor use.
This DIY radio combines functionality and creativity, making it ideal for outdoor activities or emergency use!
By Atoo Linda S.4 East 2024

